Home improvement projects involving plumbing can seem like a daunting task, the last thing you want to do is mess up and suddenly have a swimming pool in your kitchen (no matter how much your kids might enjoy it). But in all reality, some of these projects are actually easy to accomplish with the correct tools and knowledge, like knowing how to change your kitchen faucet.
Let’s say you finally decided to replace that old drippy faucet with an Apollo Kitchen Faucet from ZLINE and the time has come to install it. Here’s how to change out that old kitchen faucet like a professional.
The first thing you’re going to need to do is clear out the cabinet under your sink. If you’re anything like us this is a great opportunity to clean up down there, it turns out you can indeed have too many plastic bags.
Once you’ve got everything all cleaned up, grab the following items:
-
Flashlight
-
Gloves
-
Bucket
-
Two towels (The first towel is to clean up any spilled water, the second one is for your back if needed. You’ll be laying under the sink for some time, and the towel can help you from getting unnecessary pain in your back.)
With everything cleaned out and your tools in hand, decide if you can easily remove your cabinet doors. While it’s not mandatory, if they’re easy to remove this will help let in some light while you’re replacing your kitchen faucet while making it easier for you to work under your sink.

The next thing you’re going to want to do is to turn off both the hot and cold water valves. The last thing you want on your hands is a flood mid-replacement.
In most homes, you’ll find the hot and cold water valves directly under your sink connected to the faucet hose. Be sure to turn on the old faucet after you’ve turned off the valve to remove any water in the hose and to double-check that you actually turned off the pipe.
Now that you’ve turned off the water, disconnect the faucet hose from the water lines. If your old faucet has a sprayer hose, you’ll need to remove that from the waterline as well.

Next, you’ll want to loosen and remove the nuts that are holding the faucet in place under your sink. If the faucet you’re removing is older or wasn’t properly installed, this can sometimes be a difficult task. If you’re having trouble getting the nut loose try applying some heat or soaking the nut in penetrating oil.
With the hardware underneath removed, you’ll now be able to remove the old faucet. This will be done by lifting up the faucet from the top of the sink. This can be difficult depending on how long ago it was installed, but with enough force, it should come off. For your own safety, we recommend you wear gloves during this step.
With the old faucet removed, take a moment to clean off any dirt or gunk residue left behind. Warm soapy water and stainless steel cleaner should do the trick.
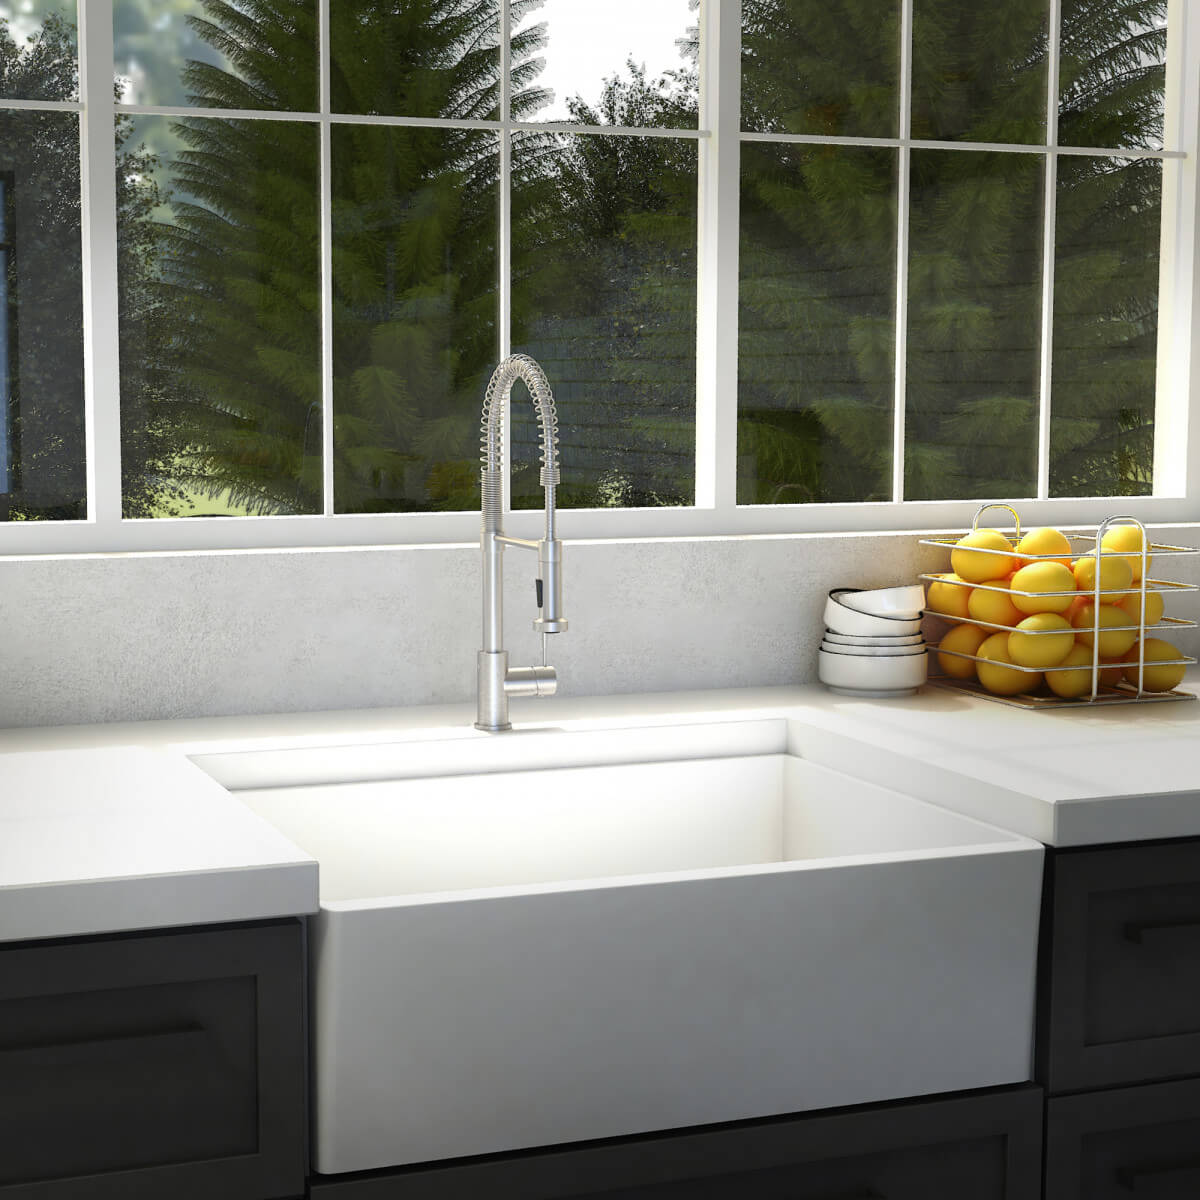
With the old faucet removed, we can now install the new one. We’ll be focusing on how to install a spring faucet, like the ZLINE Sierra Kitchen Faucet. Most faucets have similar setup guides, but we always suggest you follow along with the included manual for your faucet as well.
Begin by placing the new faucet in the existing hole in your sink. From the underside of your sink tighten the required nuts. Now connect the faucet’s hoses to your existing hot and cold lines. With the hoses properly connected, turn on your hot and cold water valves and test out your sink.

Congratulations! You just learned how to change your kitchen faucet like a professional. If you got lost along the way or need any additional help with this, there are a lot of great video walkthroughs available online, one of our favorites is Home RenoVision.
We hope this walk-through helps! If you’re still in the market for a new faucet, Rustic Kitchen & Bath has a wide selection available and we’d be more than happy to answer any questions you might have! Contact us through our website or reach out to us on any of our socials.
Facebook: Rustic Kitchen and Bath
Instagram: @RusticKitchenandBath
Pinterest: Rustic Kitchen and Bath
Twitter: @RusticKandB


